
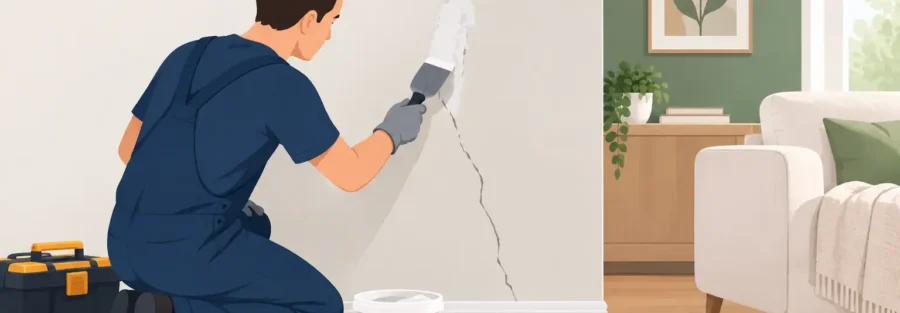
A freshly painted room can be let down by one thing almost immediately: a crack reappearing through the new finish. To fix cracked walls before decorating properly, the repair needs to deal with the condition of the surface, not simply hide the line with paint. A careful approach gives you a smooth result that lasts and helps protect the time and effort invested in transforming the room.
Small cracks are common in homes across North London, particularly where plaster has dried, timber has moved with the seasons, or a property has naturally settled over time. Many are straightforward cosmetic repairs. Others need closer attention before any filling or painting begins.
First, work out what kind of crack you have
Not every crack means the same thing. Fine hairline cracks in plaster or around joints are often caused by minor movement, drying plaster, or previous decorating layers ageing. These are usually suitable for preparation and repair as part of a normal decorating project.
A wider crack, a crack that continues across a ceiling and down a wall, or one that keeps reopening may point to movement in the building or a failed plaster surface. Cracks around windows and doors can also deserve a closer look, especially if doors begin sticking or the crack is noticeably wider at one end.
Check whether the crack is dry, stable and localised. Press gently on either side. If the plaster sounds hollow, moves under pressure or breaks away easily, filling the visible line alone will not provide a dependable finish. Loose material needs removing and the affected area may need replastering or stabilising first.
Damp is another issue that should be resolved before decoration. A stain, soft plaster, peeling paint or a musty smell can indicate a leak, condensation problem or penetrating damp. Filler and paint applied over moisture will fail, so identify and remedy the cause before repairing the wall.
Why fixing cracked walls before decorating matters
Paint is a finish, not a repair material. Even high-quality emulsion will follow the shape of a crack rather than make it disappear. In strong daylight, side lighting or rooms with large windows, small imperfections often become more visible after a new coat of paint is applied.
Proper preparation also makes a difference to durability. Filling over dusty edges, unstable plaster or an unprepared gap can lead to cracking, flaking or a raised patch that shows through the paint. Taking time at this stage creates the even background needed for sharp lines, consistent colour and a professional-looking finish.
For landlords, it can also help a property feel well cared for between tenancies. For homeowners, it means the finished room reflects the standard you had in mind rather than drawing attention back to old defects.
How to fix cracked walls before decorating
The right repair method depends on the size and cause of the crack, but the principle is consistent: create a stable surface, fill it in layers where needed, then sand it flush with the surrounding wall.
Start by protecting the floor and removing any loose paint around the crack. Use the edge of a filling knife or a suitable scraper to open a fine crack slightly into a shallow V-shape. This may seem counterproductive, but it gives the filler a clean surface to grip rather than leaving it sitting across a narrow, fragile line.
Brush or vacuum away dust. A clean repair is essential. If the area is powdery, friable or very absorbent, it may need a stabilising solution before filling. This helps bind the surface and prevents the filler from drying unevenly or pulling away.
For a small, stable crack, apply a good-quality fine surface filler with a flexible filling knife. Press it into the gap, then draw the knife across the surface to remove excess. Avoid trying to build a deep repair in one thick application. Thick filler can shrink as it dries, leaving a dip or another visible line.
Wider cracks benefit from a stronger approach. After opening and cleaning the crack, apply filler in controlled layers, allowing each layer to dry as directed. Where there is a joint prone to slight movement, scrim tape can reinforce the repair before a finishing layer is applied. The tape should sit flat without wrinkles, with enough filler over it to feather the edges into the wall.
Once fully dry, sand the repair gently using fine-grade abrasive paper or a sanding block. Your aim is not to sand aggressively, but to blend the repair so it cannot be felt when you run a hand across the wall. Check from different angles, as a patch that looks smooth head-on may still show under side lighting.
A mist coat or suitable primer may be needed on fresh plaster, bare repaired areas or surfaces with differing levels of porosity. This helps the final paint dry evenly and avoids dull patches, often called flashing. Only once the wall is sound, dry, smooth and dust-free should decoration begin.
Materials that make a cleaner repair
For most minor wall crack repairs, a small set of appropriate materials will give a much better result than using whatever is already in the cupboard:
- A scraper or filling knife for removing loose material and applying filler
- Fine surface filler for shallow, cosmetic cracks and finishing repairs
- A suitable deeper repair filler for wider or more substantial gaps
- Scrim tape for reinforcing joints or recurring cracks where slight movement is likely
- Fine-grade abrasive paper, a sanding block and a vacuum or soft brush for dust removal
Choose products according to the wall and the repair depth. A lightweight finishing filler is excellent for a final skim over a stable surface, but it is not always the right choice for a deeper void. Equally, a heavy repair compound may be strong but need a fine filler over the top to achieve an invisible finish.
Common shortcuts that spoil the final finish
Applying paint directly over a crack is the most common shortcut, and it nearly always shows through. Caulking can be useful around skirting boards, architraves and small gaps between different materials, but it is not a universal substitute for repairing cracked plaster. On a flat wall, it can leave a soft, shiny or uneven line that remains visible after painting.
Rushing the drying and sanding stages causes problems too. If filler is painted before it has fully cured, it can shrink later or affect the paint finish. Over-sanding creates a hollow around the repair, while under-sanding leaves a raised ridge. A good repair should blend gradually into the existing surface, not form a distinct patch.
It is also worth resisting the temptation to keep adding paint to hide a poor repair. More coats improve coverage and depth of colour, but they will not level an uneven wall. The quality of the finished decoration is decided long before the first full coat goes on.
When to call in a professional
A professional decorator or building specialist can assess whether a crack is simply cosmetic or whether the wall needs more involved work. This is particularly useful where cracks are recurring, numerous, wider than a few millimetres, associated with damp, or accompanied by bulging and loose plaster.
Some properties have layers of older finishes, uneven historic repairs or walls that need localised plastering before they are ready for decoration. Addressing these issues as part of a planned project is usually less disruptive than painting first and revisiting failed areas later.
At Adria P&D, preparation is treated as part of the transformation, not an afterthought. Whether you are refreshing one room or planning a wider refurbishment, careful wall repairs provide the sound base for a finish that looks clean, considered and built to last.
Before choosing your paint colour, take a few minutes to inspect the walls in natural light and deal with the imperfections you can see. That small investment in preparation is often what turns a newly decorated room into one that still looks right months later.