
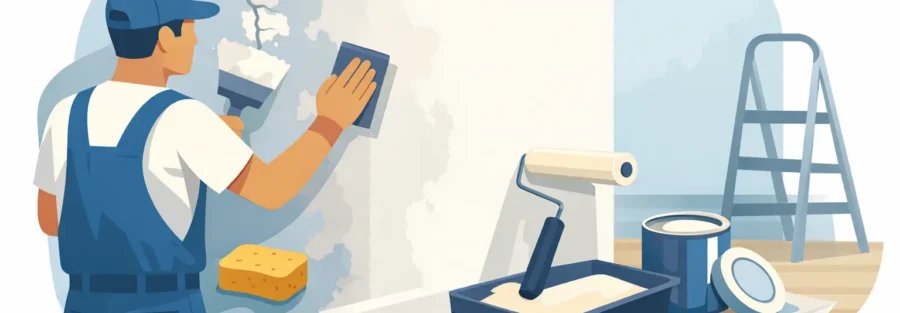
A fresh coat of paint can transform a room, but the finish is only ever as good as the surface underneath it. If you are wondering how to prepare walls for painting, the short answer is this: take your time before the first brush or roller comes out. Proper preparation is what gives you clean lines, even coverage and a result that still looks good months later.
Too often, people focus on colour choice and forget the groundwork. That is usually where problems begin. Peeling, patchiness, visible dents and rough areas are rarely caused by the paint itself. More often, the wall was dusty, damaged, greasy or simply not ready.
Why wall preparation matters so much
Paint does not hide poor surfaces nearly as well as most people expect. In fact, once light hits a newly painted wall, every crack, bump and repair can become more obvious. Matt finishes may soften some imperfections, but they do not erase them. Silk and other higher-sheen finishes tend to highlight flaws even more.
Good preparation does three things. First, it helps paint adhere properly. Second, it improves the final appearance. Third, it gives the finish better durability, which matters in busy homes, rental properties and commercial spaces where walls take daily wear.
There is also a practical point here. Preparing properly usually saves time overall. Rushing ahead may feel quicker on day one, but touching up peeling paint, sanding out visible filler marks or repainting stained areas is far more disruptive later.
How to prepare walls for painting step by step
The right approach depends on the condition of the wall. A recently plastered room needs different treatment from an older wall with hairline cracks, old screw holes or layers of previous paint. That said, the process follows the same core logic.
Clear the space and protect the room
Start by moving furniture away from the walls and covering floors properly. Dust sheets are worth using even for a small room. Remove picture hooks, nails, wall fixings and switch plates where possible. Masking off edges can help, but it should not be used as a substitute for careful cutting in later.
This stage often gets treated as basic housekeeping, but it matters. Good access lets you inspect the wall fully, and proper protection keeps the job controlled from the outset.
Clean the walls before anything else
Dust, grease and everyday grime can stop paint from bonding well. Kitchens, hallways and rental properties are the usual places where this becomes obvious, but even bedroom and lounge walls collect more residue than most people realise.
Use a mild sugar soap solution or appropriate wall cleaner, then wipe the surface down with clean water if needed and allow it to dry fully. If there is mould, staining or nicotine residue, a more targeted treatment may be required before any painting starts. Simply painting over contamination tends to bring the problem back through the new finish.
Check for damage, loose paint and failed filler
Once the wall is clean and dry, inspect it in natural light if possible. Look along the surface rather than straight at it. That makes uneven areas easier to spot. Pay attention to cracks around corners, old fixing points, flaky paint, lifting tape joints and any signs of damp.
Loose material needs to come away before you do anything else. Scrape off flaking paint, cut back unstable filler and remove anything that feels hollow or unsound. It is better to make a small repair properly than to paint over a weak patch that will fail later.
Fill cracks and holes carefully
Small dents, hairline cracks and old screw holes should be filled with a suitable decorator’s filler. Deeper damage may need a tougher repair product applied in layers. The key is not to overfill heavily and hope sanding will sort it out. That usually creates extra work and a less tidy finish.
Apply filler neatly, press it in well, and leave it proud only very slightly if needed. Drying times vary by product and room conditions, so do not rush this part. If filler is still damp under the surface, sanding and painting too soon can cause shrinkage or flashing later.
Sand for a smooth, even surface
Sanding is where the wall starts to come together. Once filler is fully dry, sand repaired areas until they sit flush with the surrounding wall. If the existing paint has rough edges, ridges or a slightly glossy finish, a light overall sand can help create a better surface for the next coat.
Use a fine to medium abrasive and keep the pressure even. The aim is to smooth, not gouge. On older properties, walls are not always perfectly flat, so the goal is visual consistency rather than chasing absolute perfection. That balance matters, especially in lived-in homes where sensible preparation is better than unnecessary disruption.
After sanding, remove all dust thoroughly. This step is easy to overlook, but paint applied over fine dust can drag, sit unevenly and leave a gritty finish.
When walls need more than basic preparation
Some surfaces need additional attention before paint goes anywhere near them.
Fresh plaster
New plaster must be fully dry before painting. It should look consistently pale rather than patchy dark pink or brown. Once dry, it usually needs a mist coat or a primer suitable for fresh plaster so the surface is sealed properly and the top coats can bond evenly.
Painting fresh plaster too early is one of the most common causes of failure. The finish may look acceptable at first, then start to peel or cure unevenly.
Stained walls
Water marks, smoke damage and other stains can bleed through standard emulsion, even after several coats. In these cases, a stain-blocking primer is usually the right move. Without it, the discolouration often reappears and undermines the finished look.
Glossy or previously coated surfaces
If the wall has a sheen, or has been painted with a durable wipeable product, it may resist new paint unless it is abraded and primed correctly. This is especially relevant in bathrooms, kitchens and commercial settings where more hard-wearing coatings are common.
Damp or structural cracking
Preparation is not a fix for underlying building issues. If a wall shows active damp, bubbling, crumbling plaster or cracks that keep returning, that needs proper investigation first. Decorating over the top may improve the look briefly, but it will not last.
Do you always need primer?
Not always, but often enough that it should be considered carefully rather than skipped automatically.
If the wall is sound, already painted in a similar finish, and only has minor repairs, you may not need a full primer coat. If you have filler patches, bare plaster, stains, uneven porosity or a difficult surface, primer helps create an even base and a more reliable final result.
This is one of those areas where it depends on the wall rather than the paint tin alone. Product claims can be optimistic. Surface condition still decides most of the outcome.
Common mistakes that spoil the finish
The biggest mistake is painting too soon. That includes not waiting for cleaned walls to dry, not letting filler cure properly and not giving primer enough time before top coats. Each shortcut tends to show up later.
Another common issue is poor surface checking. Walls can look fine head-on and still show every imperfection once painted. Taking a few extra minutes to inspect from different angles makes a real difference.
There is also a temptation to treat every wall the same. In reality, an older property in Barnet may need very different prep from a newer flat in Enfield. Previous decorating standards, moisture levels, wall texture and general wear all influence what preparation is needed.
The difference professional preparation makes
A well-prepared wall does not call attention to itself. That is the point. The paint looks smoother, the colour sits more evenly, edges appear sharper and the whole room feels more finished.
Professional decorators tend to spend far more time on preparation than many clients expect, not because the job is being slowed down, but because that is where quality is built. Careful filling, sanding, sealing and checking are what separate a quick cosmetic paint job from a finish that genuinely lifts the room.
For homeowners, landlords and business clients, that reliability matters. It means less snagging, fewer callbacks and a better-looking result from the day the room is completed.
If you want your paintwork to last and your space to feel properly transformed, preparation is never the part to cut short. Get the wall right first, and everything that follows has a far better chance of looking exactly as it should.